项目来源于我的突发奇想,并且基于热爱折腾的心理,利用 GitHub 本身提供的 Api,将博客管理面板化。
目前仅支持 hugo,其他程序有对应的工具,就不造轮子了。
Github: https://github.com/98zi/HugoFast
网站:https://hugofast.netlify.app/
用户文档:https://hugofast-docs.netlify.app/
1. 自托管
前往 https://github.com/98zi/HugoFast fork 本项目,然后下载到本地。
git clone https://github.com/98zi/HugoFast.git
::: warning 这里默认你有一定的代码基础,本地提前安装好了 node 依赖等。 :::
# 进入项目安装依赖包
cd HugoFast
yarn

# 使用 `yarn serve` 运行项目
yarn serve
# 打包到 dist 文件
yarn build
打包后的文件可以放在的任意空间部署。
2. 准备工作
(1) 获取 Github Token
前往 https://github.com/settings/tokens/ 。
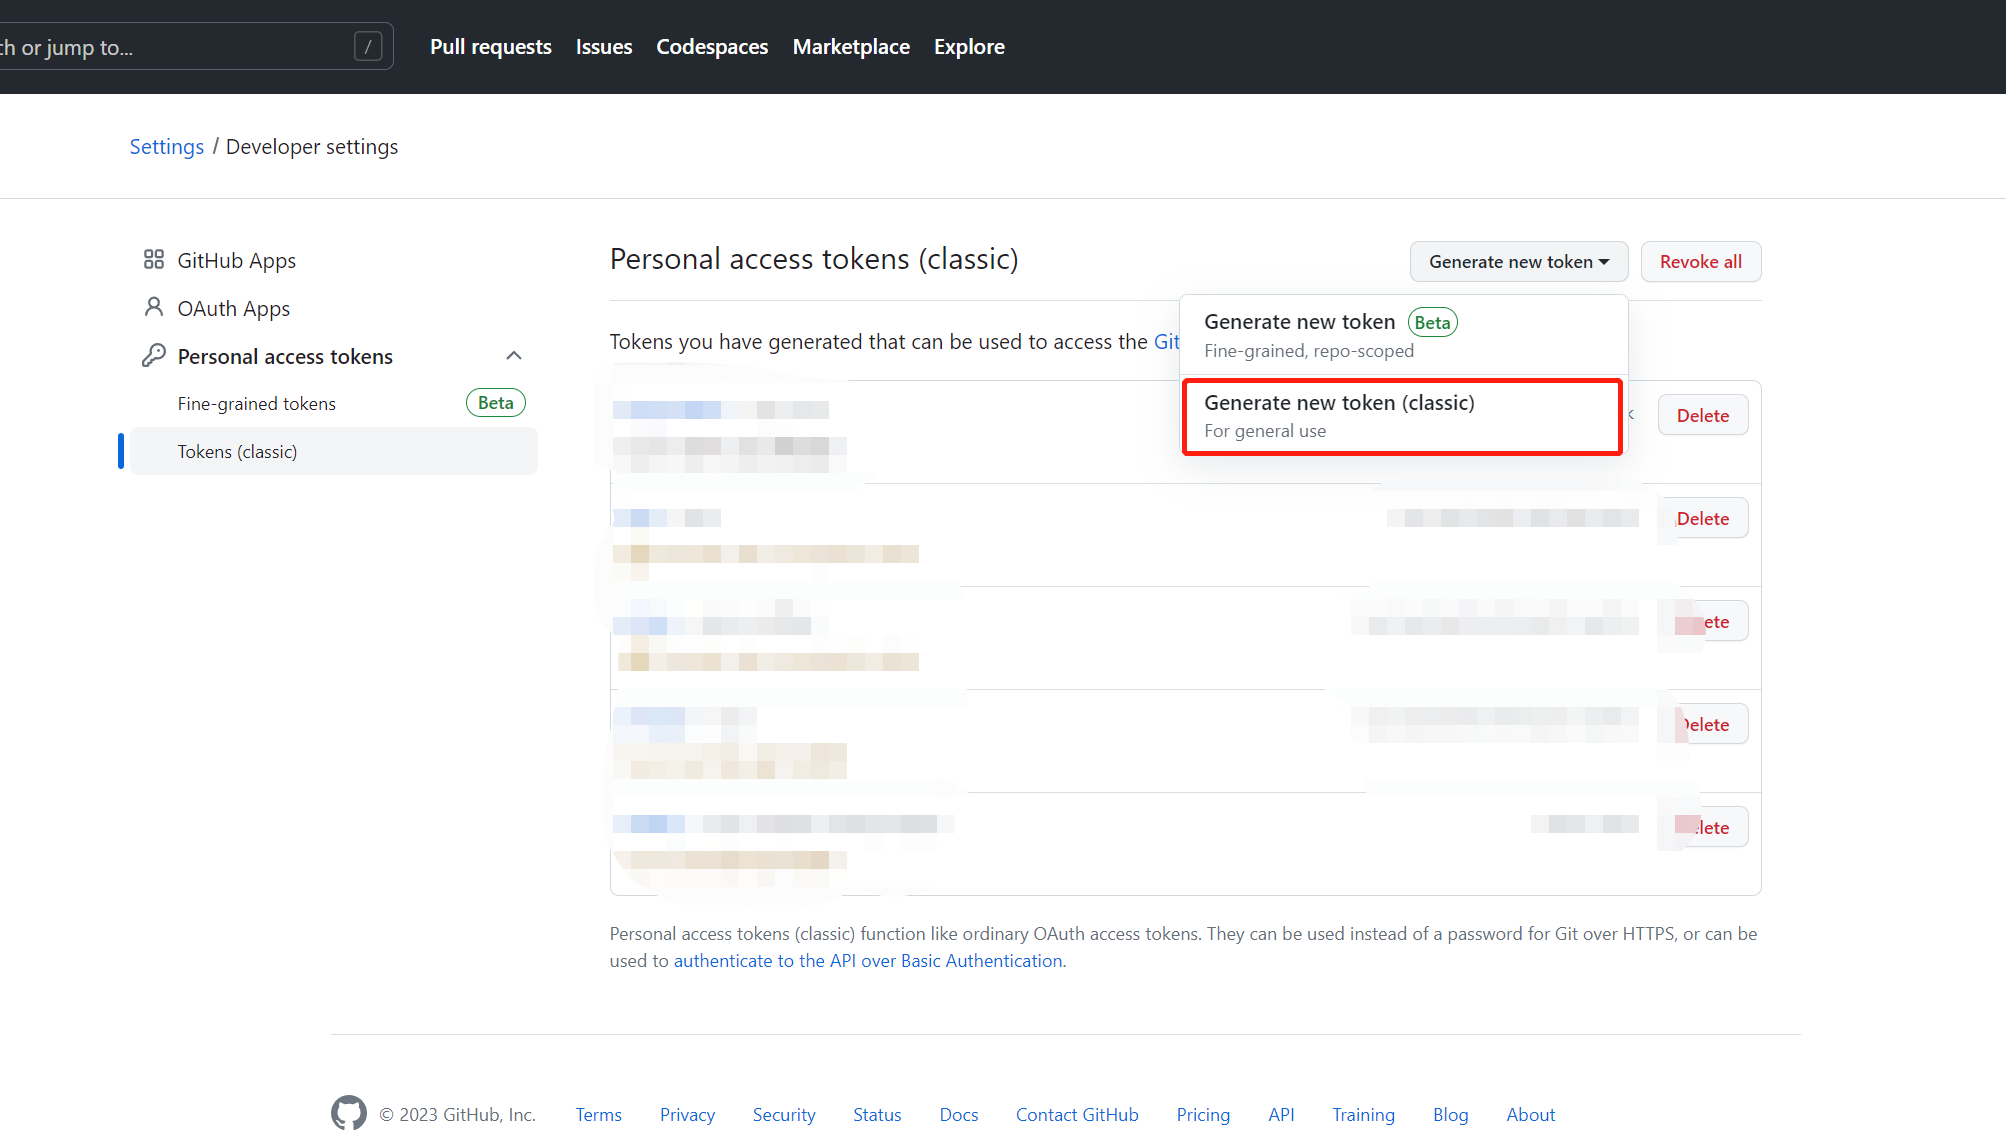
新建一个 token,选择 repo / user 这两个权限,名称随意,最后生成 token。
注意要保存好这个密钥,在新的终端打开网站需要用到这个密钥。
(2) 操作 hugo 源码仓库
前往你的 hugo 源码仓库,如下图。
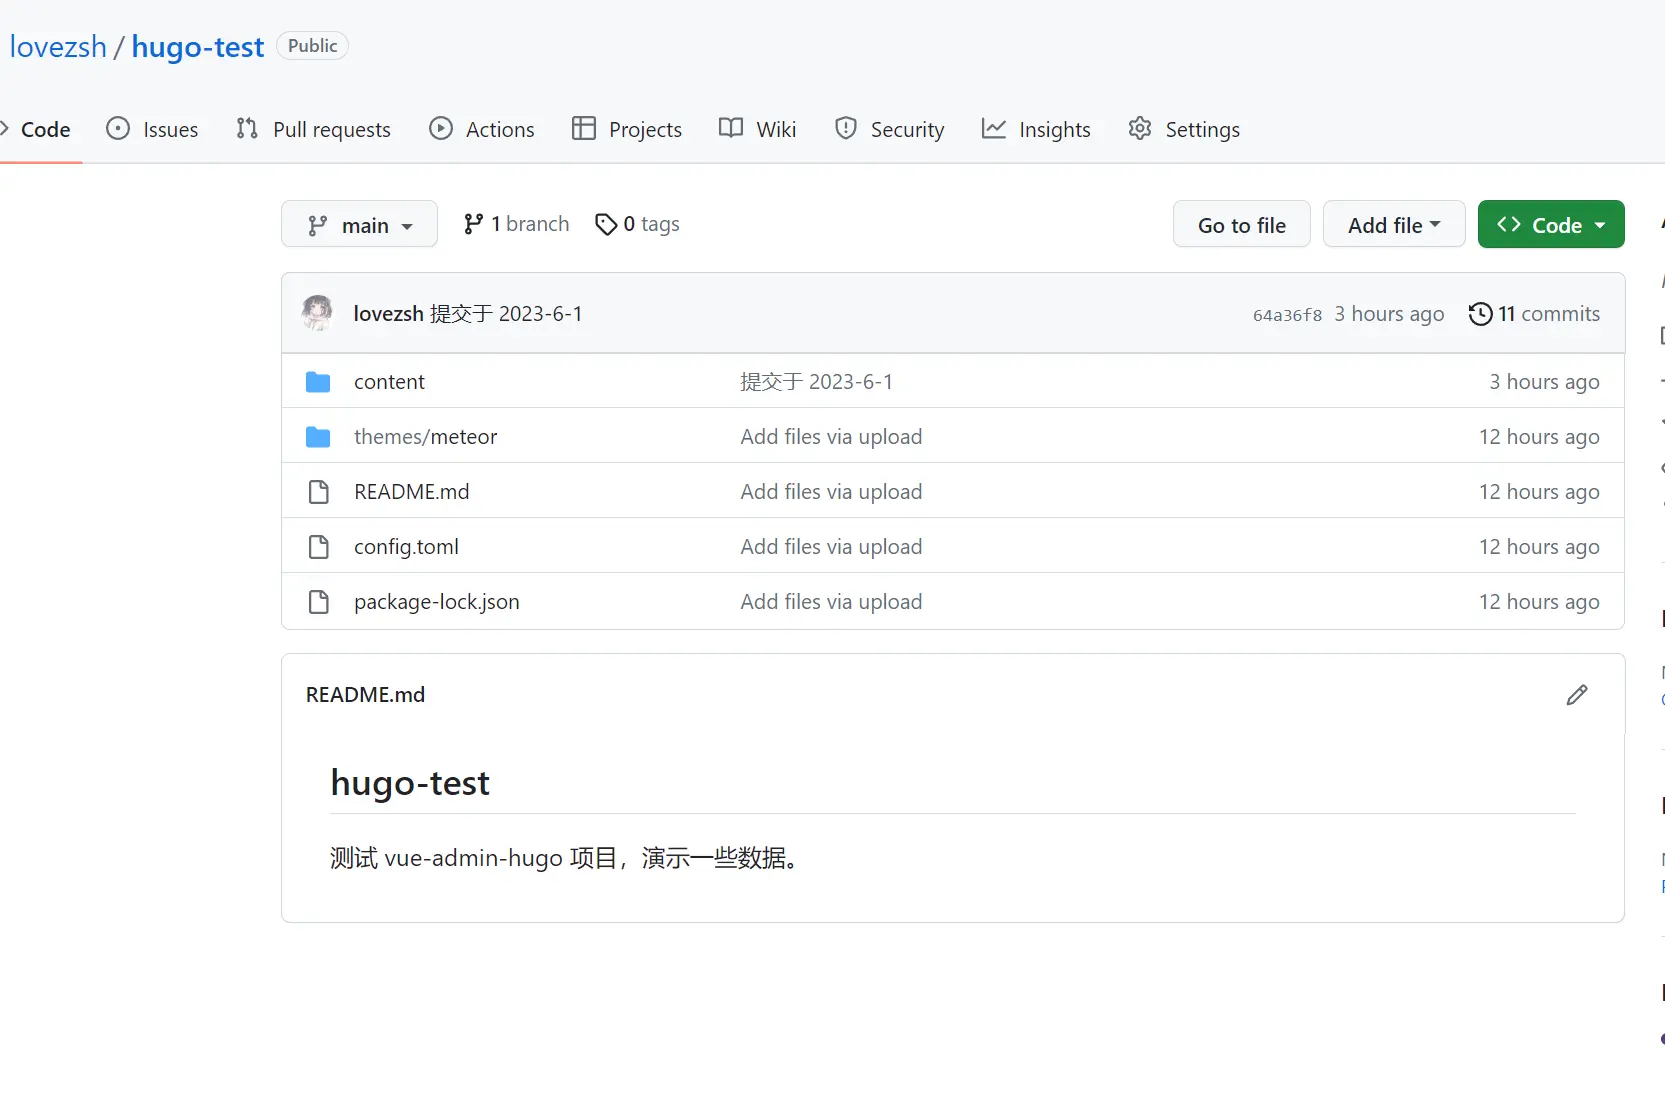
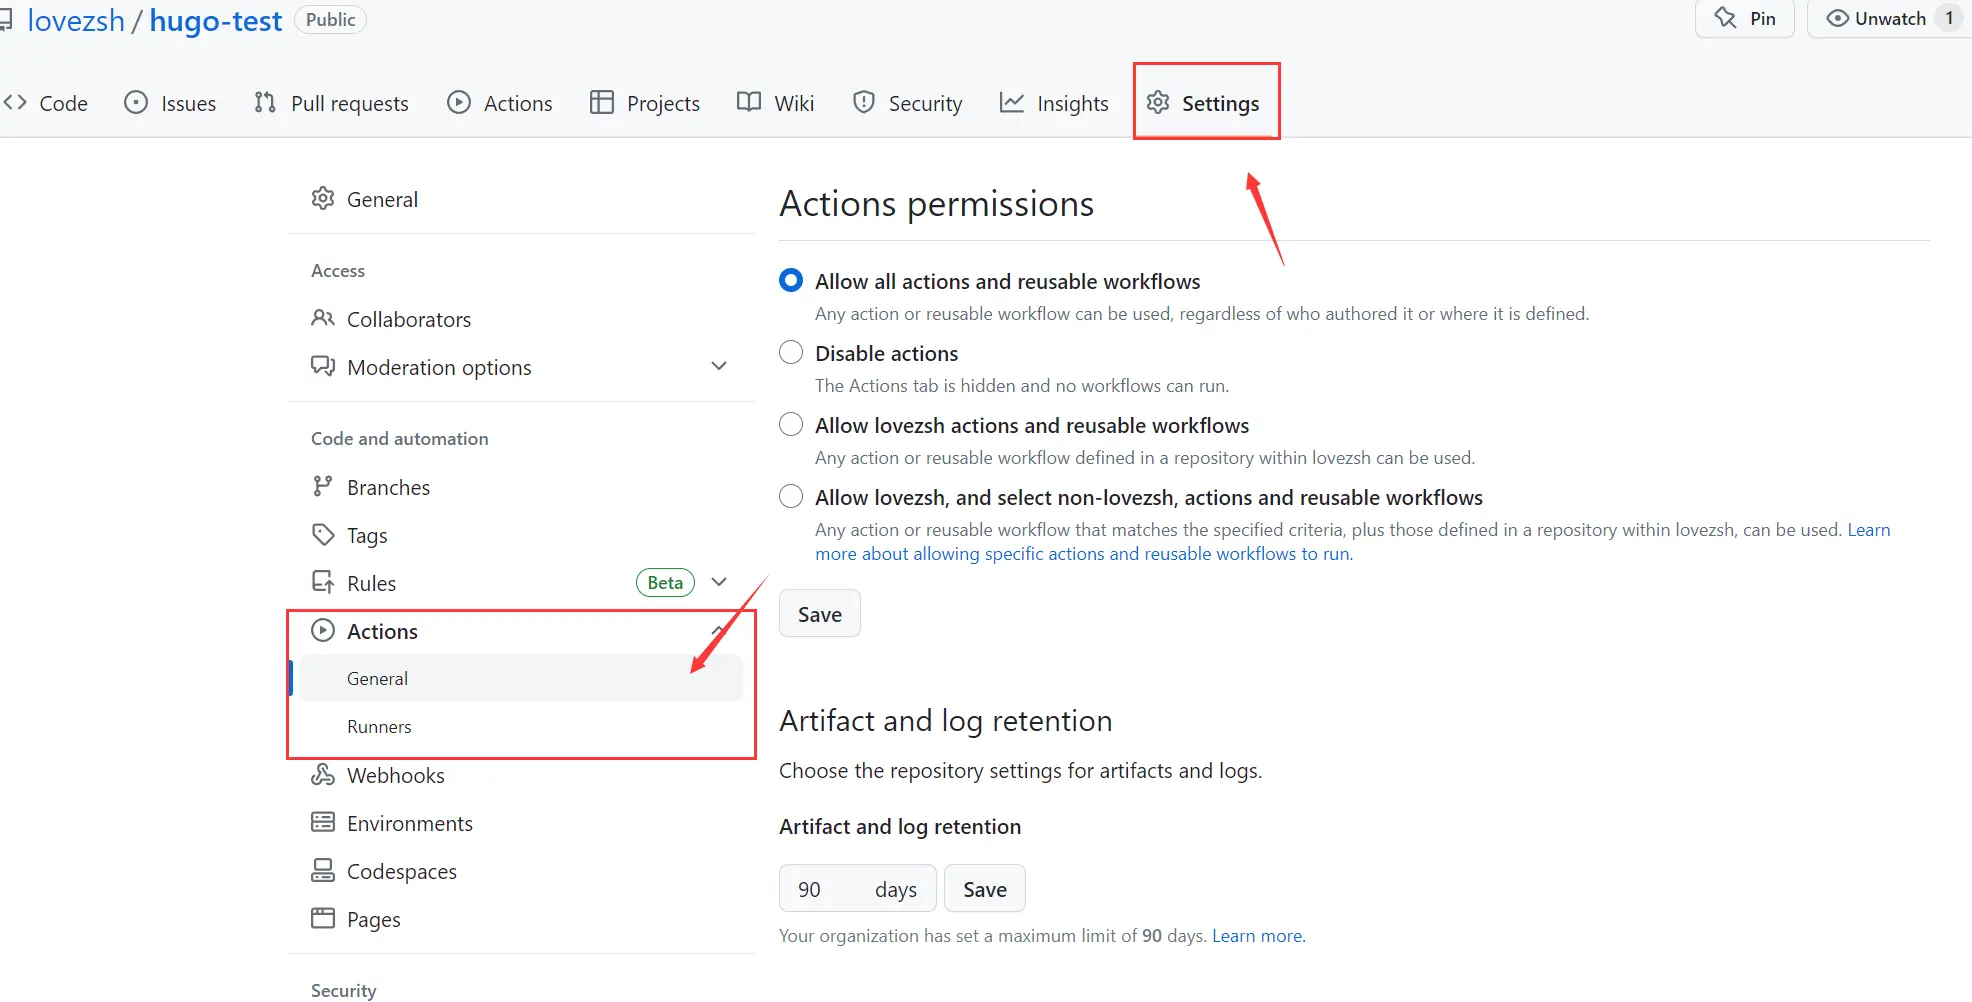
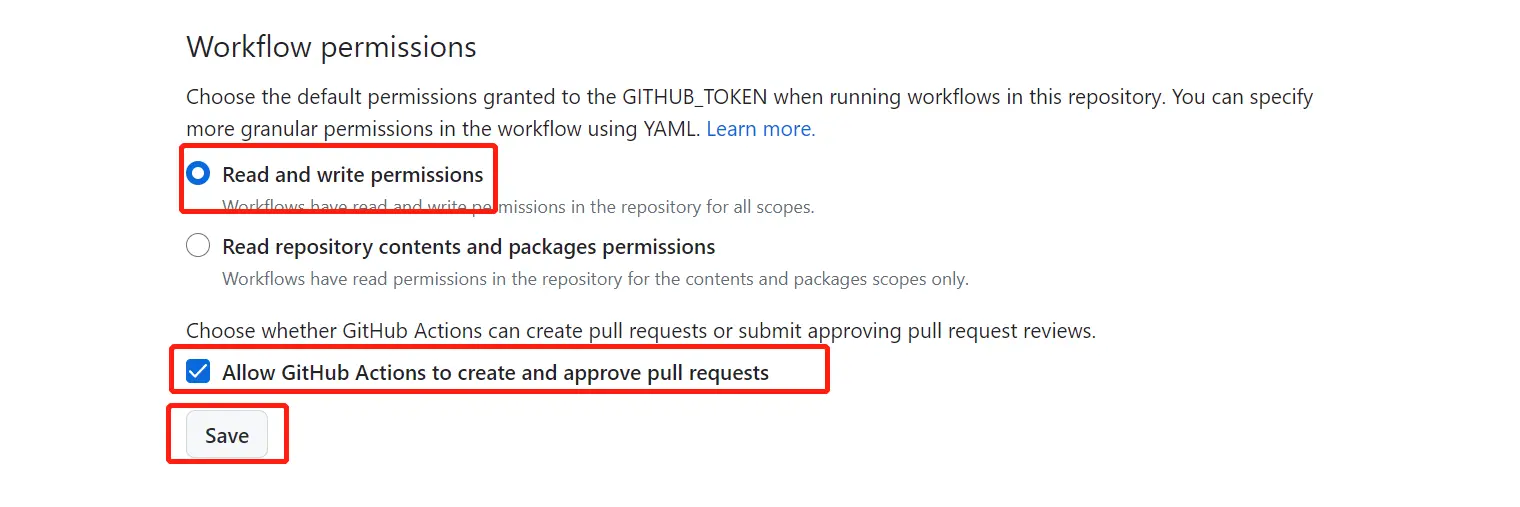
在仓库的 setting/actions,滑到最下面,打开 actions 的 pr 权限,不然 actions 自动部署会失败。
(3) 添加 .github/workflows/main.yml
点击 actions > set up a workflow yourself 新建一个 actions 工作流。
注意:
git config --global user.email "" 和 git config --global user.name "" 里面要填写你的 GitHub 邮箱以及用户名。
name: hugo deploy

on:
    push:
    workflow_dispatch:
    schedule:
        # Runs everyday at 8:00 AM
        - cron: "0 0 * * *"

jobs:
    build:
        runs-on: ubuntu-latest
        steps:
            - name: Checkout
              uses: actions/checkout@v2
              with:
                  submodules: true
                  fetch-depth: 0

            - name: Setup Hugo
              uses: peaceiris/actions-hugo@v2
              with:
                  hugo-version: "latest"

            - name: Build Web
              run: hugo
            - name: Commit changes
              run: |
                git config --global user.email ""
                git config --global user.name ""
                git pull
                git add .
                git commit -m "my commit"
            - name: Push changes
              uses: ad-m/github-push-action@master
              with:
                github_token: ${{ secrets.GITHUB_TOKEN }}
                branch: main
3. HugoFast 网站
使用官方提供的版本。
在线管理:https://hugofast.netlify.app/
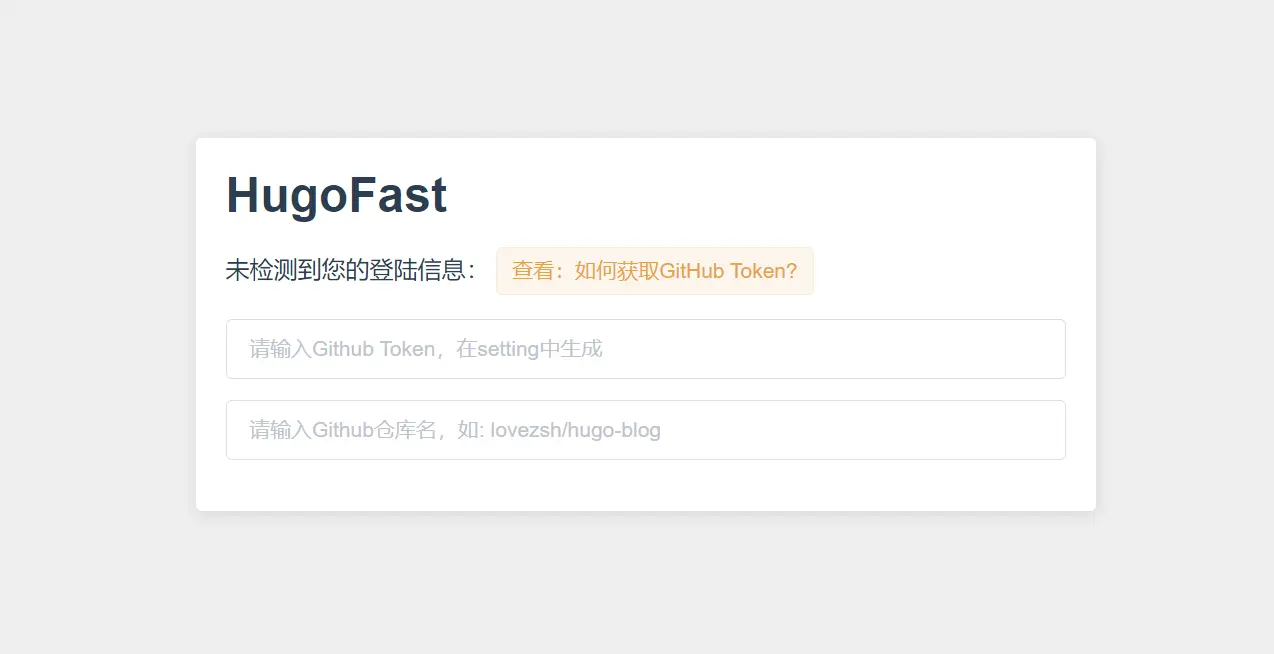
第一行:获取的 GitHub Token
第二行:hugo 源码仓库
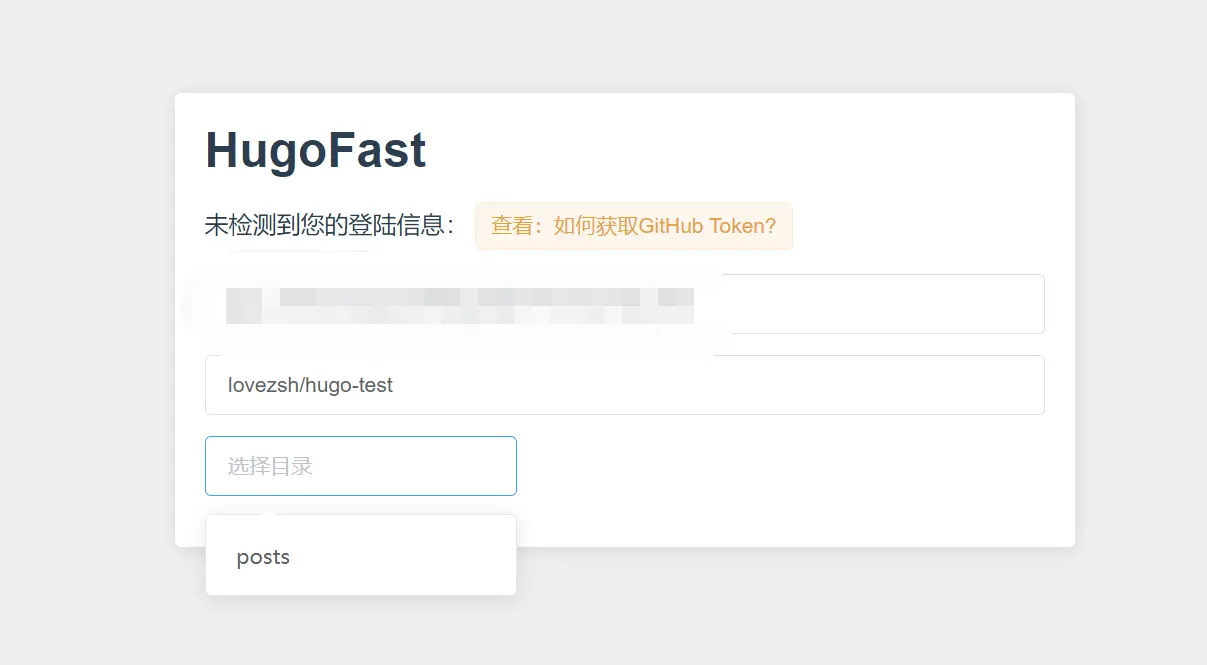
填写完成后,会自动获取文章目录,选择后点击确认。
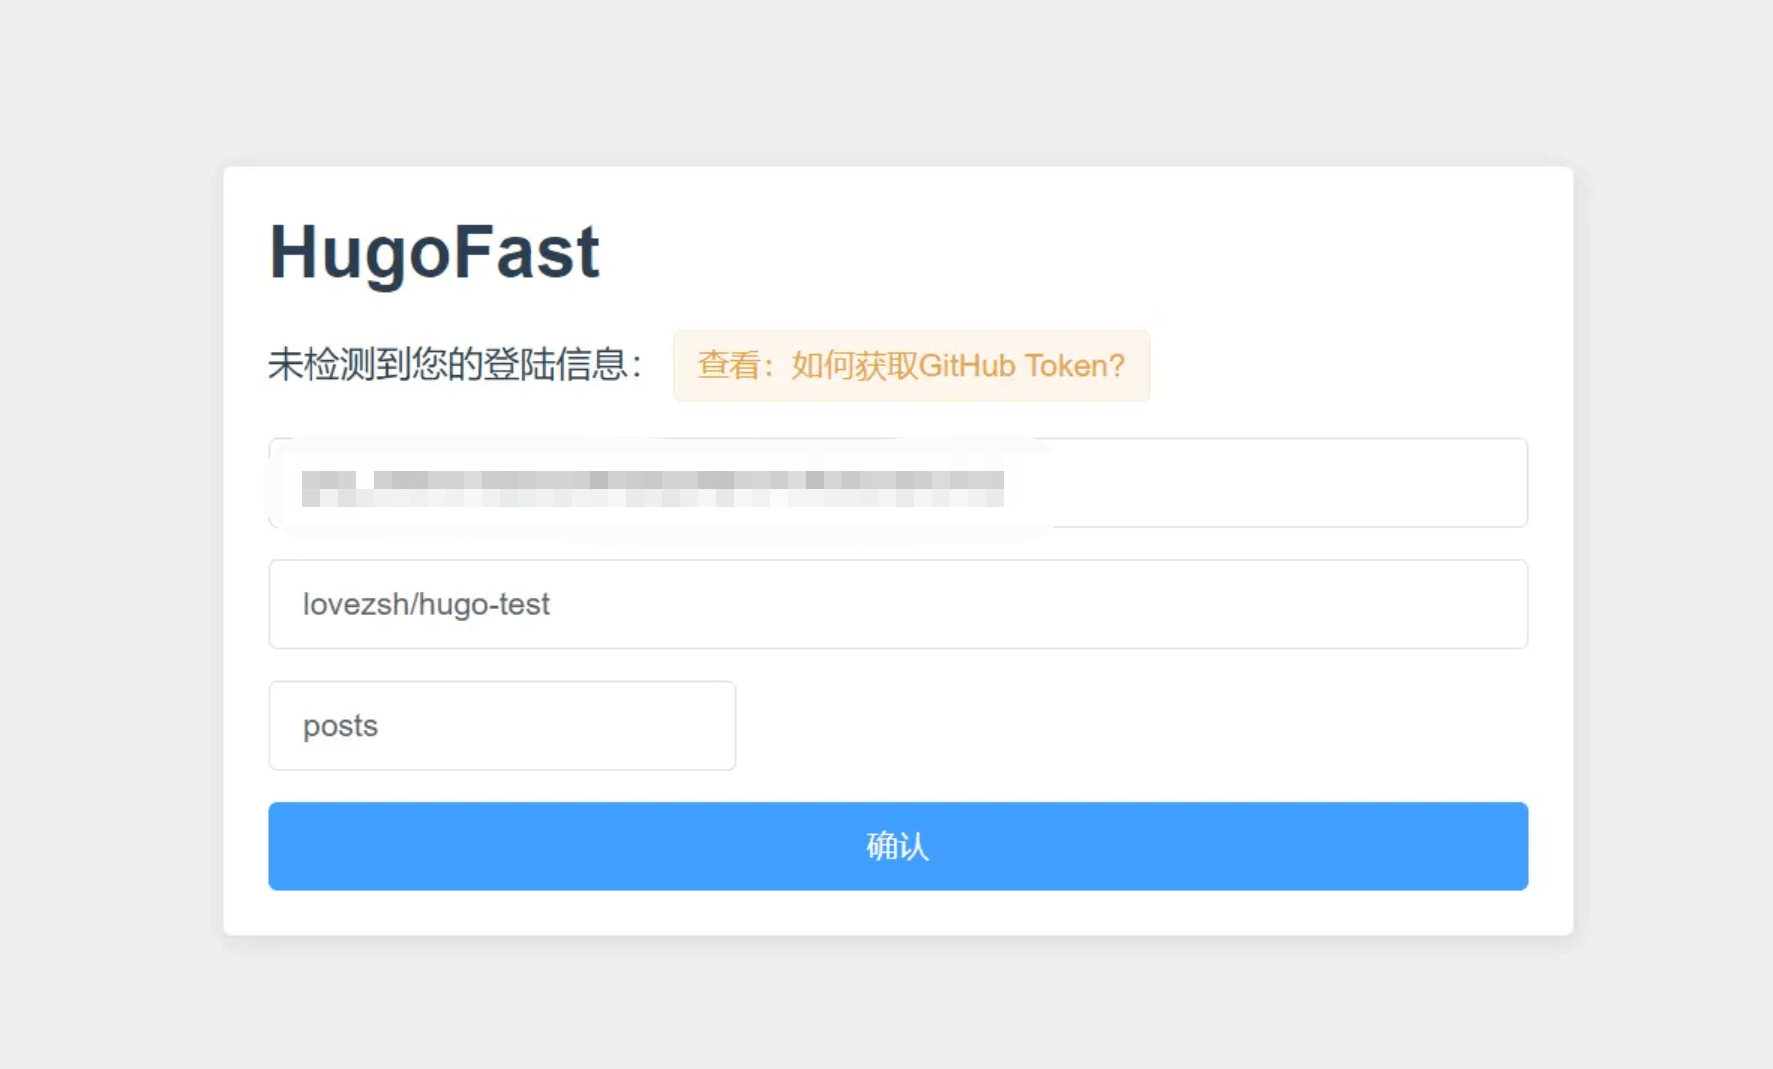
进入网站就可以正常使用功能了,如修改文章,发布新文章,其他功能还在开发中。
未完待续…